


BLE positioning based on AoA technology has the advantages of sub-meter high-precision positioning, as well as flexibility, high concurrency, low cost, low power consumption, high compatibility and other benefits. AoA locator is an important hardware used in such indoor positioning system to perform tasks of assent tracking, personnel positioning, etc. This article gives a complete guide on how to implement Bluetooth AoA locator installaion in indoor positioning system, including required devices, deployment strategies, installation guide, and primary configuration.
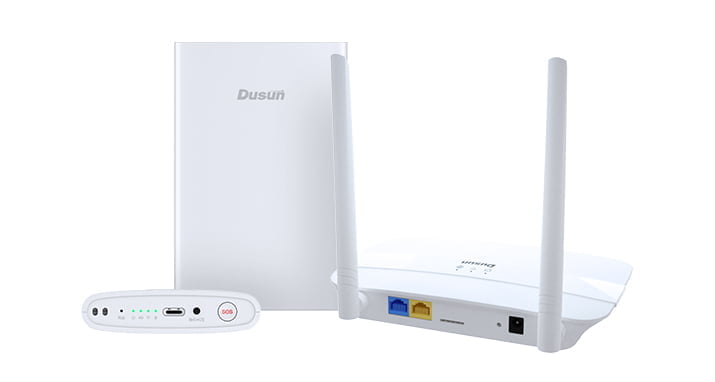
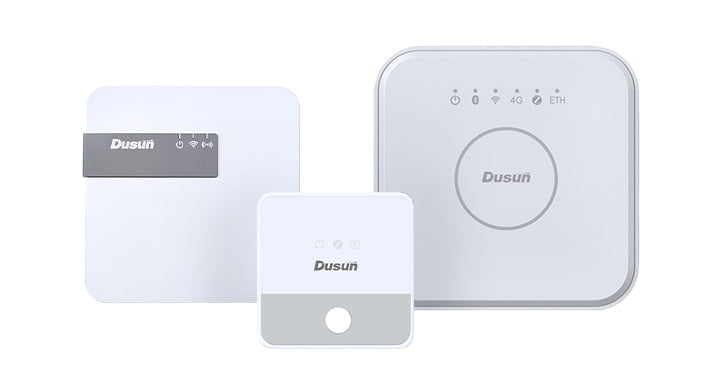
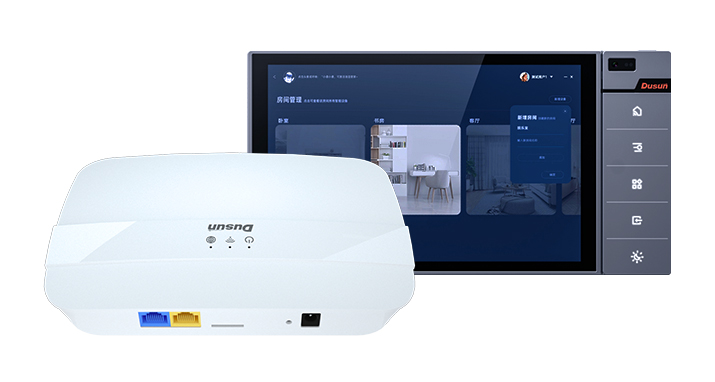
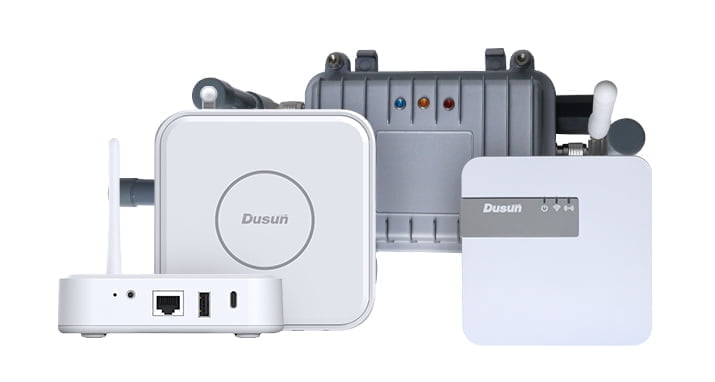
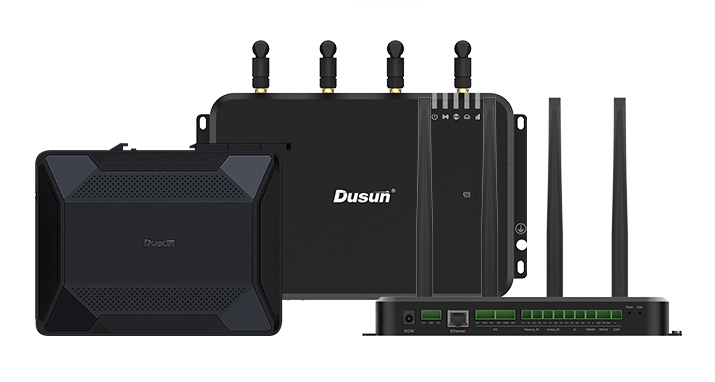
Devices Need for Indoor Positioning System


AoA Locator Deployment Strategies
The AoA locator supports single and multiple deployment modes.
When Deploy A Single Locator
When a single locator is deployed, it can only output the I/Q data that including orientation angle and pitch angle of the corresponding tag. This data is the cardinal output data of each Bluetooth positioning locator. This data is sent directly to the cloud platform of positioning engine.
According to the determined tag height, a single locator can calculate and obtain a unique spatial absolute coordinate.


Coverage depends on your installation height, Angle α maximum value: Height =h , α= 60℃ ,Coverage r= h*tagα ≈2h
When Deploy Multiple Locators
The strap-down combination of multiple Bluetooth indoor locators will obtains a larger positioning coverage space, and multiple anchor course angel calculations improve the global spatial accuracy level.
You can achieve your positioning needs through 2 solutions. One is the positioning algorithm in the cloud platform, the other is the positioning algorithm in the Bluetooth gateway with edge computing capability.
If you are a company with your own positioning algorithm or run the positioning algorithm on your platform, you can select that the locator sent the I/Q data to your platform directly.

If you only need to simply integrate into your map application, you can use the edge computing gateway solution to output x, y, z coordinates to your application platform. You can configure the locator as an edge Gateway on locator’s configuration page. As a local server, the edge gateway accepts I/Q data from other locators and calculates the coordinates of X, Y, and Z. One Edge Gayeway can support 5 AoA locators.

How to Install AoA Locators
Firstly, Check Mechanical Design of AoA Locators

Install AoA locators on the Roof
Step1: Installing positioning stickers
Select a suitable spot on the ceiling, and make sure the installing positions of network cable and power supply port, and then stick positioning stickers.
Reminder: operators must pay attention to personal safety.

Step 2: drill a hole on the ceiling
Drill holes on the position of previous positioning stickers.
Reminder: use suitable electric drill bit according to the size of the plastic expansion tube.

Step 3: install plastic expansion tube
Insert the plastic expansion tube into the hole (in step 2)
Attention! The expansion tube and wall must be flat.

Step 4: install ceiling bracket
Fix the top bracket of AoA locator completely on the wall by aligning the fixing hole on the top holder with the expanded plastic tube, and fixing it successively with expansion screws.
Attention! Network cable, power supply cable could go through the wire hole on the bracket first, then fixed the bracket, so these can be collected in the bracket. If not needed, directly fix the ceiling bracket.

Step5: install interfaces of ontology
Successively insert related component according to AoA locator’s interface statement document.

Step 6: preparation before the ontology installation
The ceiling bracket of AoA locator has odd position post. You need to lift the ontology horizontally, then vertically close to the suction top bracket, to make position post insert to corresponding slot.

Step 7: install the ontology
After finishing step 6, slightly adjust the ontology, make sure three hooks on the bracket can be inserted into the corresponding position of the ontology. The effect shall be shown as below:
Ontology and bracket completely flush. Rotate in the direction of the shear head of ontology, the installation is complete when hear a sound.

Step 8:check the installment status
After finishing installation, you need to carefully check whether the locator is properly installed. Check if there is obvious shaking of ontololy. And then clear the cable and power cable and make them invisible as possible as you can.
Reminder: cables can not be naked at will.

Install AoA locators on the Wall
Step 1: Installing positioning stickers
Choose the right position on the wall, make sure the network cable, power supply port spot.
Stick positioning stickers. Operators must pay attention to personal safety

Step 2: Wall hole
According to the size of the plastic expansion tube, use suitable elect drill bit. Drilling holes based on the position on the positioning sticker
Step 3: Install plastic expansion tube
Insert the plastic expansion tube into the hole(in step 2) Attention! The expansion tube and wall must be flat

Step 4: Install ceiling bracket
Align the fixing hole on the top holder with the expanded plastic tube, fix it successfully with expansion screws, Fix the bracket completely on the wall
Attention! Network cable, power supply cable could go through the wire hole on the bracket first, then fixed the bracket, so these can be collected in the bracket. If no need, directly fix the ceiling bracket.

Step 5: Install the product ontology interface
Refer to install the product ontology interface statement, successfully insert related component.

Step 6: Preparation before product ontology installment
Product installation positioning guide as below: bracket has odd position port.
Grooves corresponding to the ontology, then place the product close to the top bracket so that the positioning column is inserted into the corresponding slot.

Step 7: Install product ontology
After finish step 6, slightly adjust the ontology, make sure three hooks on the bracket can be inserted into the corresponding position of the ontology.
As below: now, ontology and bracket completely flush rotate in the direction of the shear head of ontology, the installation is complete when hear a sound.

Step 8: Check the installment status
Finished step 7, need to carefully check whether the product is properly installed, all smooth, obvious shaking problem, clear the cable and power cable, need to hide as far as possible, cannot be naked at will.

How to Configure AoA Locator and Get AoA Data?
Firstly Log in Gateway Configuration Page using PC Browser
1) Log in the smart gateway and input the real IP address of the gateway from the router.

Enter the username and Password
Username: root
Password: root
Then we got the overall status of the DSGW-200 AOA Indoor positioning gateway.

For Single Locator Positioning
1)Switch to IOT Services ->Locator
Default MQTT server for uploading data is the gateway itself, and the server address& port credentials are configurable.

2)Sample configuration of the Locator is shown below
For more detailed information about each parameter, please refer to Appendix one

Sample locators configuration parameter,
					{
"version":1, "aoxMode":"SL_RTL_AOX_MODE_REAL_TIME_BASIC",
"antennaMode":"SL_RTL_AOX_ARRAY_TYPE_4x4_URA", "antennaArray":[
0,
1,
2,
3,
4,
5,
6,
7,
8,
9,
10,
11,
12,
13,
14,
15
],
"angleFiltering":true, "angleFilteringWeight":0.6, "angleCorrectionTimeout":5, "angleCorrectionDelay":3, "cteMode":"CONNLESS",
"cteSamplingInterval":3, "cteLength":20, "slotDuration":1, "reportMode":"ANGLE", "elevationMask":[
{
"min":0.0,
"max":10.0
}
]
}
3)Download and install the MQTT Explorer (or other MQTT client): http://mqtt-explorer.com/
4)Open the MQTT Explorer and fill in the IP address& port of gateway, for example 192.168.1.114 and port 1883

5)Click “CONNECT”, and active the AOA tag to put them nearby the locator, you should then see th e following locationinformation

For Multiple Locators Positioning
1)Switch to section positioning in Luci page
You can configure the destination of the MQTT broker that AOA data is required to send to. For the sample connection, I send it to my local MQTT broker in my PC.

Note: this configuration should be carried out only in the gateway you used to calculate the real time location
2)Sample configuration of the multi locator, here we used three locators to form the positioning system, the minimum requirement is two.
For detailed information about each parameters, please refer to Appendix 2
					{
"version":1, "id":"multilocator-test_room",
"estimationModeLocation":"SL_RTL_LOC_ESTIMATION_MODE_THREE_DIM_HIGH_ACCURACY", "validationModeLocation":"SL_RTL_LOC_MEASUREMENT_VALIDATION_MEDIUM", "estimationIntervalSec":0.02,
"locationFiltering":true, "locationFilteringWeight":0.1, "numberOfSequenceIds":6, "maximumSequenceIdDiffs":20, "locators":[
{
"id":"ble-pd-040D8453CB0B",
"config":{
"aoxMode":"SL_RTL_AOX_MODE_REAL_TIME_BASIC",
"antennaMode":"SL_RTL_AOX_ARRAY_TYPE_4x4_URA", "antennaArray":[
0,
1,2,
3,
4,
5,
6,
7,
8,
9,
10,
11,
12,
13,
14,
15
],
"angleFiltering":true, "angleFilteringWeight":0.6, "angleCorrectionTimeout":5, "angleCorrectionDelay":3, "cteMode":"SILABS", "cteSamplingInterval":3, "cteLength":20, "slotDuration":1, "reportMode":"ANGLE",
"allowList":[
"ble-pd-588E814405DC"
],
"azimuthMask":[
{
"min":-135,
"max":0
}
],
"elevationMask":[
{
"min":0.0,
"max":10.0
}
]
},
"coordinate":{ "x":0.9,
"y":12,

"z":2.5
},
"orientation":{ "x":180.0,
"y":0.0,
"z":0.0
}
},
{
"id":"ble-pd-040D8453CAEB",
"config":{
"aoxMode":"SL_RTL_AOX_MODE_REAL_TIME_BASIC",
"antennaMode":"SL_RTL_AOX_ARRAY_TYPE_4x4_URA", "antennaArray":[
0,
1,
2,
3,
4,
5,
6,
7,
8,
9,
10,
11,
12,
13,
14,
15
],
"angleFiltering":true, "angleFilteringWeight":0.6, "angleCorrectionTimeout":5, "angleCorrectionDelay":3, "cteMode":"SILABS", "cteSamplingInterval":3, "cteLength":20, "slotDuration":1, "reportMode":"ANGLE",
"allowList":[
"ble-pd-588E814405DC"
],

"elevationMask":[
{
"min":0.0,
"max":10.0
}
]
},
"coordinate":{ "x":4.1,
"y":4.4,
"z":2.5
},
"orientation":{ "x":180.0,
"y":0.0,
"z":180.0
}
},
{
"id":"ble-pd-040D8453CB01",
"config":{
"aoxMode":"SL_RTL_AOX_MODE_REAL_TIME_BASIC",
"antennaMode":"SL_RTL_AOX_ARRAY_TYPE_4x4_URA", "antennaArray":[
0,
1,
2,
3,
4,
5,
6,
7,
8,
9,
10,
11,
12,
13,
14,
15
],
"angleFiltering":true, "angleFilteringWeight":0.6,
"angleCorrectionTimeout":5, "angleCorrectionDelay":3, "cteMode":"SILABS", "cteSamplingInterval":3, "cteLength":20, "slotDuration":1, "reportMode":"ANGLE",
"allowList":[
"ble-pd-588E814405DC"
],
"azimuthMask":[
{
"min":0.0,
"max":-90.0
}
],
"elevationMask":[
{
"min":0.0,
"max":10.0
}
]
},
"coordinate":{ "x":1.2,
"y":5.0,
"z":2.5
},
"orientation":{ "x":180.0,
"y":0.0, "z":85
}
}
]
}
3)Connect the fx to your local broker to acquire the data
Here as I used the local PC as MQTT broker, just use the localhost& 1883 to connect broker

4)Click Connect and finally power on the label, you can see the effect as follows:
The values of x, y and z in the figure are the coordinate values of labels relative to the origin of spatial coordinates, in meters.

Porting positioning Engine
Silicon Labs provides a Real Time Locating library(RTL lib), which process the IQ samples received from the Bluetooth stack, implements multipath detection and azimuth and elevation calculation, and exposes the data to the application via an open API.

Furthermore, the library is also able to estimate the location of a tracked asset in a multi-locator scenario using triangulation, where multiple locators receive CTEs from the same asset tag, provided that the library knows the position of each locator. In this case the positions of the locators and the estimated angles (AoA) serve as the input, and the estimated location is the output

Once the positions are estimated it is up to the user’s application how to process the data. The general
architecture of an RTLS using Silicon Labs RTL library looks like this

WiFi, Ethernet, Cellular, Which One is Good for Data Transmission?
Some users may consider using cellular for data transmission, here we run a simple test about the data consumption for cellular connection.
The testing data is based on 25 packages per second per locator, 1 and 6 AOA tags active at one time.
| AOA Tag | Data (KB/s) | Data per 24 hours |
|---|---|---|
| 1 | 2 | 400MB |
| 6 | 6 | 1200MB |
The data consumption for 6 tags active in one single area is about 1.2GB. What may be more important is once the gateway located in a place with data lagging for more than 200ms, the accuracy is influenced seriously, xyz data for real location can not be calculated in time.
Thus for normal usage scenario it is recommended to implement Wi-Fi or Ethernet connection for minimizing the cost.
Related Documentation:
AN1296: Application Development with Silicon Labs’ RTL Library.pdf
qsg175-direction-finding-solution-quick-start-guide.pdf
Appendix
Single locators configuration parameters
					"version":	1,
SL_RTL_AOX_MODE_ONE_SHOT_BASIC = 3, ///< Medium filtering, medium response. Returns 2D angle, requires 10 rounds. Most suitable for single shot measurement.
SL_RTL_AOX_MODE_ONE_SHOT_BASIC_LIGHTWEIGHT, ///< Medium filtering, medium response, low CPU cost & low elevation resolution. 2D angle, req. 10 rounds. Most suitable for single shot measurement.
SL_RTL_AOX_MODE_ONE_SHOT_FAST_RESPONSE, ///< Low filtering, fast response, low CPU cost & low elevation resolution. 2D angle, requires 2 rounds. Most suitable for single shot measurement.
SL_RTL_AOX_MODE_ONE_SHOT_HIGH_ACCURACY, ///< High filtering, slow response. 2D angle, requires 20 rounds. Most suitable for single shot measurement.
SL_RTL_AOX_MODE_ONE_SHOT_BASIC_AZIMUTH_ONLY, ///< Equivalent to ONE_SHOT_BASIC with low CPU cost and returns 1D angle. Most suitable for single shot measurement.
SL_RTL_AOX_MODE_ONE_SHOT_FAST_RESPONSE_AZIMUTH_ONLY, ///< Equivalent to ONE_SHOT_FAST_RESPONSE with low CPU cost, 1D angle. Most suitable for single shot measurement.
SL_RTL_AOX_MODE_ONE_SHOT_HIGH_ACCURACY_AZIMUTH_ONLY, ///< Equivalent to ONE_SHOT_HIGH_ACCURACY with low CPU cost, 1D angle. Most suitable for single shot measurement.
SL_RTL_AOX_MODE_REAL_TIME_FAST_RESPONSE, ///< Low filtering, fast response, lowest CPU cost, 2D angle, Most suitable for real-time tracking.
SL_RTL_AOX_MODE_REAL_TIME_BASIC, ///< Medium filtering, medium response, medium CPU cost, 2D angle, Most suitable for real-time tracking.
SL_RTL_AOX_MODE_REAL_TIME_HIGH_ACCURACY, ///< High filtering, slow response, highest CPU cost, 2D angle, Most suitable for real-time tracking.
SL_RTL_AOX_MODE_LAST ///< Placeholder
"aoxMode":	"SL_RTL_AOX_MODE_REAL_TIME_BASIC",


Array Array Array

SL_RTL_AOX_ARRAY_TYPE_4x4_URA = 0, ///< Silicon Labs Ref. 4x4 Uniform Rectangular SL_RTL_AOX_ARRAY_TYPE_3x3_URA, ///< Silicon Labs Ref. 3x3 Uniform Rectangular SL_RTL_AOX_ARRAY_TYPE_1x4_ULA,     ///< Silicon Labs Ref. 1x4 Uniform  Linear
SL_RTL_AOX_ARRAY_TYPE_4x4_DP_URA,   ///<  Silicon Labs Ref. 4x4 Uniform Dual

Polarized Rectangular Array
SL_RTL_AOX_ARRAY_TYPE_COREHW_15x15_DP,	///< CoreHw Ref. 150 mm x 150 mm, 8 Element Dual Polarized Array
SL_RTL_AOX_ARRAY_TYPE_COREHW_12x12_DP,	///< CoreHw Ref. 120 mm x 120 mm, 8


Element Dual Polarized Array
"antennaMode":	"SL_RTL_AOX_ARRAY_TYPE_4x4_URA",

//antennaMode corresponding to array antenna arrangement
"antennaArray":	Array[16],

// Angle filtering enable value
"angleFiltering":	true,

Filter weight applied on the estimated distance. Ranges from 0 to 1.
"angleFilteringWeight":	0.6,

Direction correction will be cleared if this amount of IQ reports are received without receiving a correction message.
"angleCorrectionTimeout": 5,

// Correction values with a sequence number more than MAX_CORRECTION_DELAY apart from the last IQ report are considered outdated and will be ignored.
"angleCorrectionDelay":	3,

//Cte mode: “CONN” mode、 “CONNLESS” wireless connection mode、“SILABS”mode
"cteMode":	"SILABS", "cteSamplingInterval":	3,
Minimum CTE length requested in 8 us units. Ranges from 16 to 160 us.
"cteLength":	20,

Switching and sampling slots in us (1 or 2).
"slotDuration":	1,

//single locator data out put: ANGLE mode, output angle,	IQREPORT mode: output IQdata
"reportMode":	"ANGLE",

//Tags’ white list
"allowList":	Array[2]
* Add constraints for the estimator.item Pointer to the initialized and configured AoX libitem;
*For example, constraint for SL_RTL_AOX_CONSTRAINT_TYPE_AZIMUTH with min_value =
0 and max_value = 90 means that the angular range 0 to 90 degrees is excluded 。 from the estimators internal processing range and angle estimated between that range
are not considered as valid results. Setting constraints will help ruling out false multipath-detections when the locator is installed nearby a wall or a RF-reflective surface.
"azimuthMask": Array[3], "elevationMask": Array[3]
Multi locators Positioning parameters
					"version":	1,
//locator ID would synchronize to the MQTT broker
"id":	"positioning-test_room",

SL_RTL_LOC_ESTIMATION_MODE_THREE_DIM_FAST_RESPONSE
< Three-dimensional mode - Covers X, Y and Z planes, less filtered mode for fast moving assests>
SL_RTL_LOC_ESTIMATION_MODE_THREE_DIM_HIGH_ACCURACY
< Three-dimensional mode - Covers X, Y and Z planes, more filtered mode for relatively static assets
"estimationModeLocation": "SL_RTL_LOC_ESTIMATION_MODE_THREE_DIM_HIGH_ACCURACY",

SL_RTL_LOC_MEASUREMENT_VALIDATION_MINIMUM
/< Only the basic validation integrated in the locationing algorithm (default) SL_RTL_LOC_MEASUREMENT_VALIDATION_MEDIUM
< May discard the most inaccurate measurements with an additional calculation round SL_RTL_LOC_MEASUREMENT_VALIDATION_FULL
< May discard the most inaccurate measurements with several calculation rounds
"validationModeLocation":	"SL_RTL_LOC_MEASUREMENT_VALIDATION_MEDIUM",

Process new measurements, time step given in seconds
"estimationIntervalSec":	0.02,

Filter enable ,Filter a value using the moving average
"locationFiltering":	true,

< Amount of filtering in range [0.0f, 1.0f]
"locationFilteringWeight":	0.1,

Angle queue id ?
"numberOfSequenceIds":	6,

"maximumSequenceIdDiffs": 20,
"locators":[


{
"id":	"ble-pd-111111111111",
"config":{
"aoxMode":	"SL_RTL_AOX_MODE_REAL_TIME_BASIC",
"antennaMode": "SL_RTL_AOX_ARRAY_TYPE_4x4_URA", "antennaArray":	Array[16],
"angleFiltering": true, "angleFilteringWeight":0.6, "angleCorrectionTimeout":5, "angleCorrectionDelay":3, "cteMode":"SILABS", "cteSamplingInterval":3, "cteLength":20, "slotDuration":1, "reportMode":"IQ", "allowList":Array[2], "azimuthMask":Array[3], "elevationMask":Array[3]
},
Locator Horizontal coordinate position of the locator boards
The only constraint is that it must be right-handed Cartesian (so that if x is pointing right, y is pointing up), and the unit of distance must be meter. The position of each locator board must be understood as the position of the center of the antenna array relative to the origin.
					"coordinate":{
"x":0,
"y":0,
"z":0
},
The orientation of the board is defined by three values: x, y,and z. Here x means that the board is rotated around the X axis by x degrees.Similarly, y and z mean that the board is rotated around the Y / Z axis by y / z degrees. Positive values mean that the board is rotated to the positive direction, that is counterclockwise, when the given axis is pointing towards you. The center of the antenna array board should stay at the same point while rotating.
					"orientation":{
"x":0,
"y":0,
"z":0
}
},
]