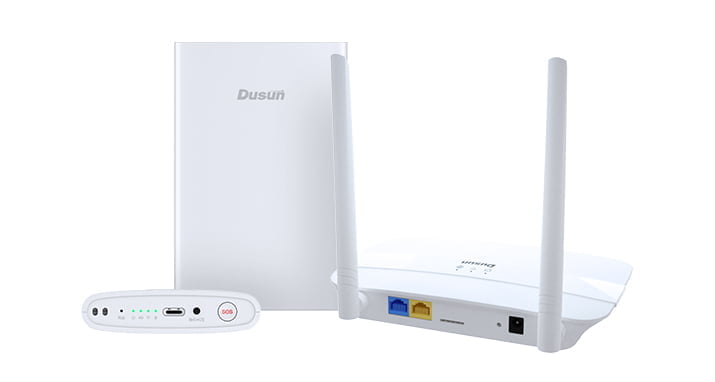
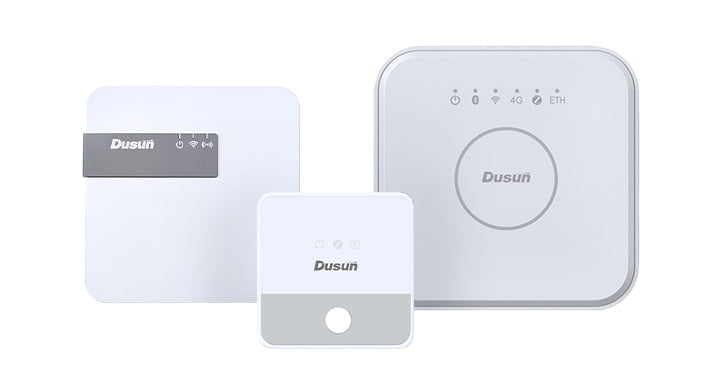
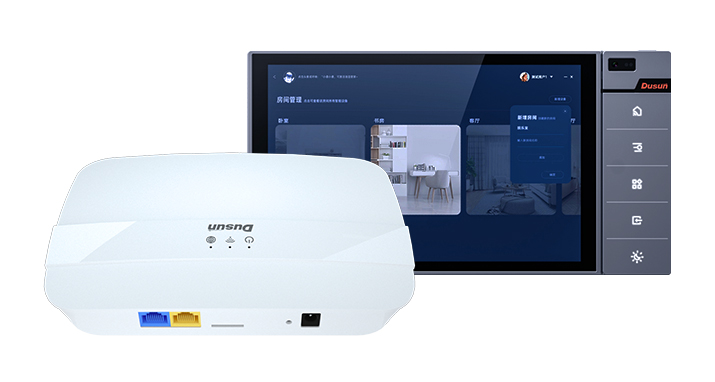
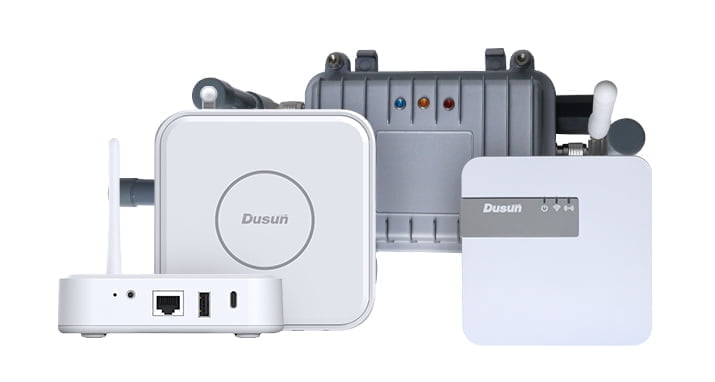
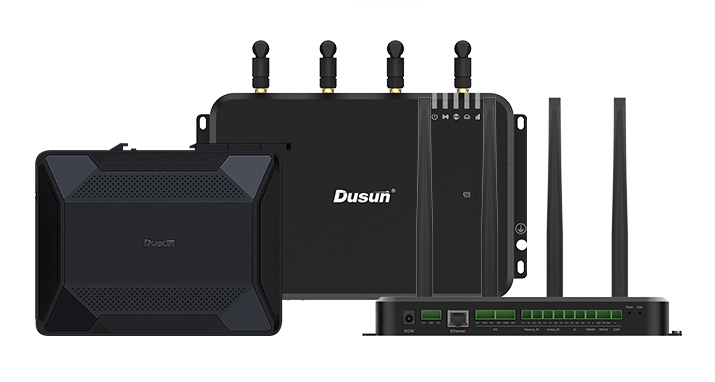
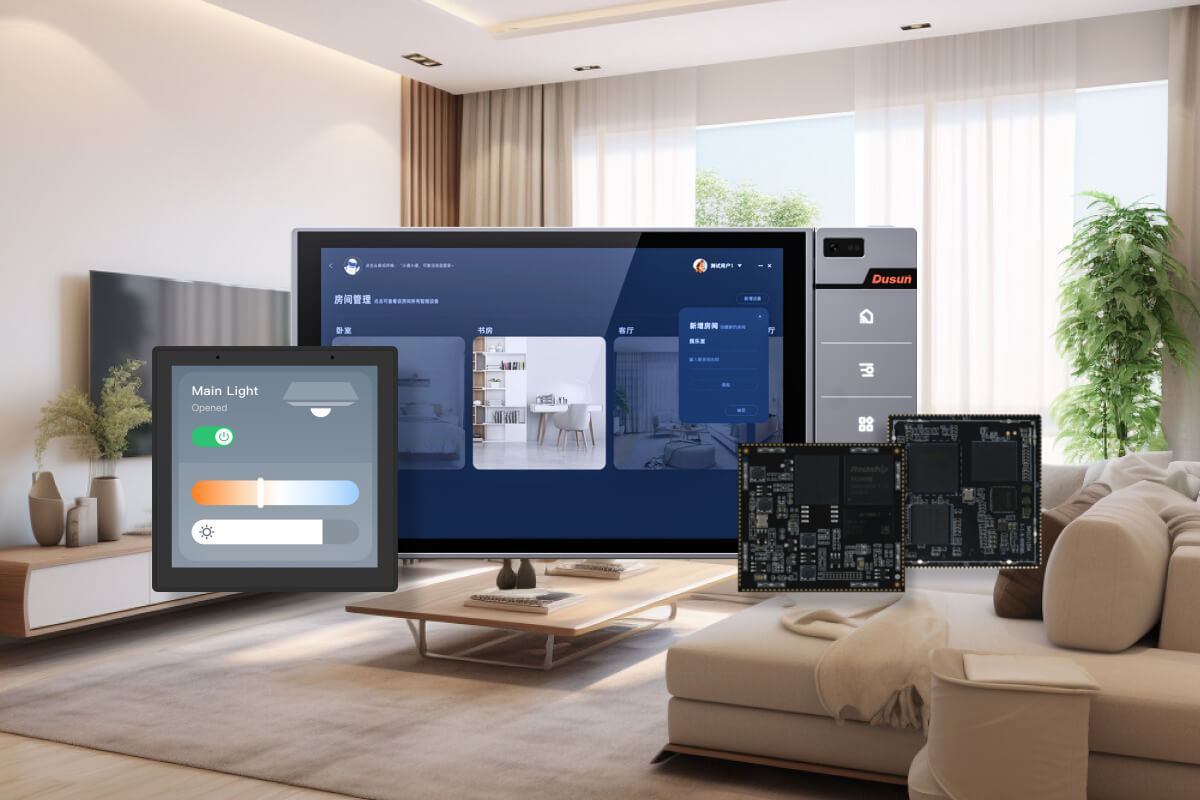
Dusun gateway runs a Linux-based OS to implement the Chirpstack stack integrating with the ChirpStack network server to complete the data upload channel.
The ChirpStack open-source LoRaWAN Network Server stack provides open-source components for LoRaWAN networks. Together they form a ready-to-use solution including a user-friendly web interface for device management and APIs for integration. The modular architecture makes it possible to integrate within existing infrastructures.
This file mainly describes a sample way to integrate the Dusun LoRaWAN gateways with the Chirpstack platform in detailed steps, from building the Chripstack server to connecting gateways and gateway sub-devices to it.
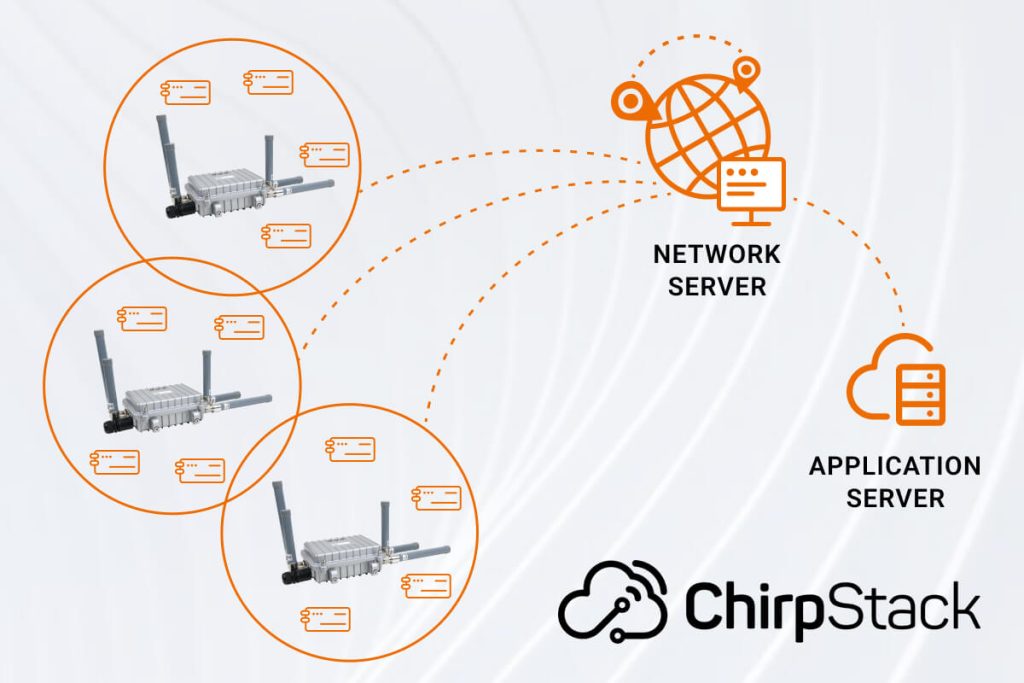
Block Diagram of ChirpStack Network Server and LoRaWAN
The graph below visualizes how the ChirpStack LoRaWAN® Network Server components are connected:
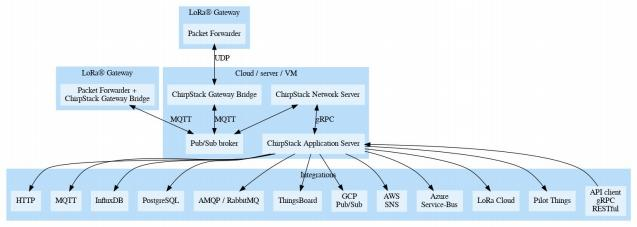
- ChirpStack Gateway Bridge: handles the communication with the LoRaWAN gateways
- ChirpStack Network Server: a LoRaWAN Network Server implementation
- ChirpStack Application Server: a LoRaWAN Application Server implementation
- LoRa® Gateway: Dusun gateway implemented the Packet Forwarder to handle the communication between LoRa Sub devices.
Packet Forwarder
Dusun smart gateways use Semtech UDP Packet Forwarder to manage connection with ChirpStack.
| Platform | TTN | ChirpStack | AWS |
| Packet Forwarder | Semtech UDP Packet Forwarder | Semtech UDP Packet Forwarder | Basics Station |
Configuration Steps
Step 1: Setting up the Chirpstack server
Take the chip stack docker as an example, the repository can be acquired from the link https://github.com/brocaar/chirpstack-docker.git
After cloning this repository locally, the user can configure it as per requirement. Modify the file docker-compose.yml.
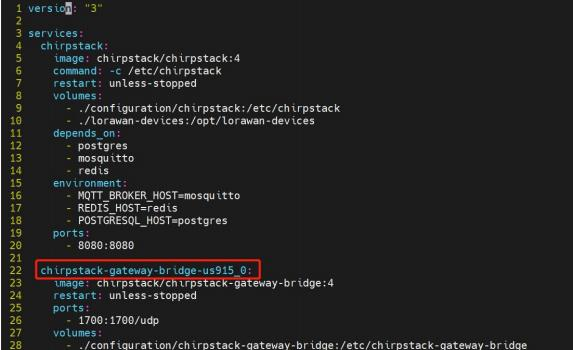
Set the path of data storage.
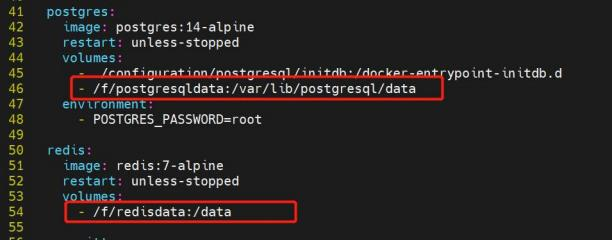
You must prefix the MQTT topic with the region Please see the region configuration files in the configuration/chirpstack for a list of topic prefixes.
Modify configuration/chirpstack-gateway-bridge/chirpstack-gateway-bridge.toml

Run docker-compose to acquire the resources and start the server
Step 2: Configuration in Chirpstack server
The ChiRpstack server can be logged via <local IP>:8080, The default user name/ password is admin/admin, and detailed steps to set up the network server are shared below.
Switch to section Gateways, click Add Gateway.
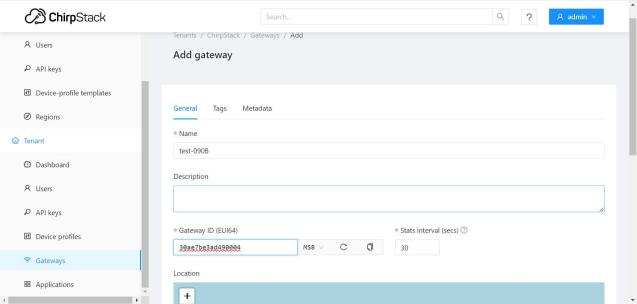
Submit
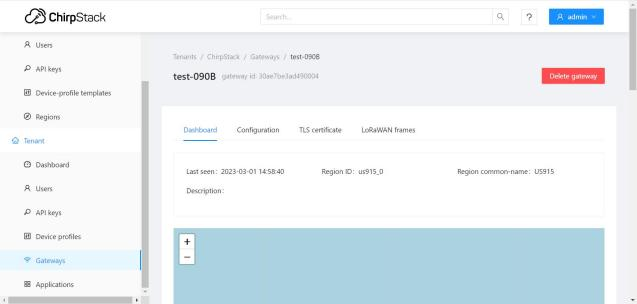
Step 3: Configuration in gateway
a) Log in gateway using the IP address,
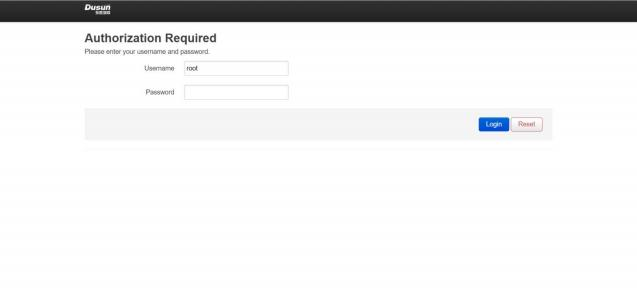
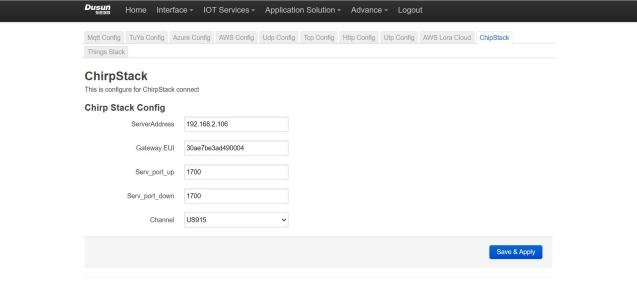
b) Switch to “IOT Services”–> “Cloud Config”–> “ChirpStack”
Fill in the correct IP address of the Chirp stack server we created just now and Gateway EUI, Server Port, click Save&apply
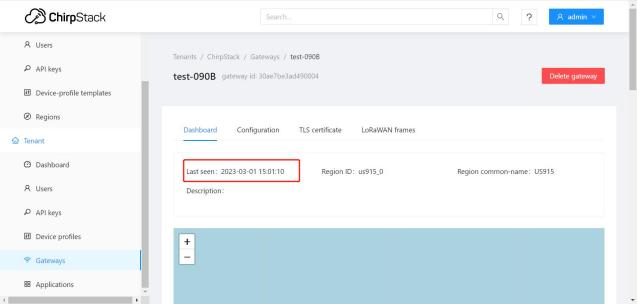
c) Check the connection in the Chirpstack server, it can be seen the gateway is connected
Add LoRaWAN Devices
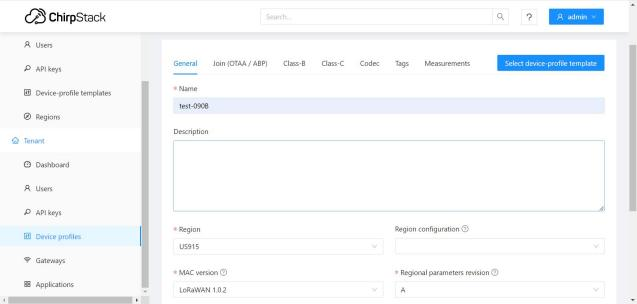
a) Create Device profiles.

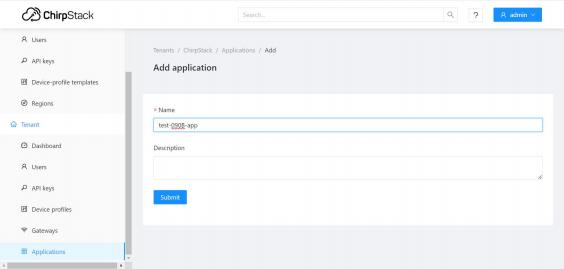
b) Switch to Applications, create an application
c) Add device
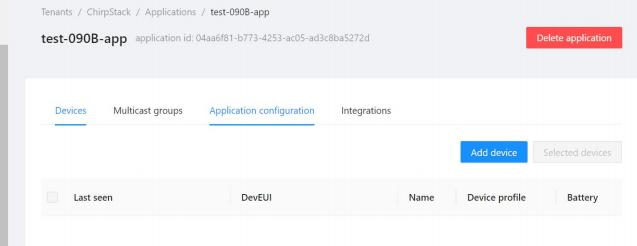
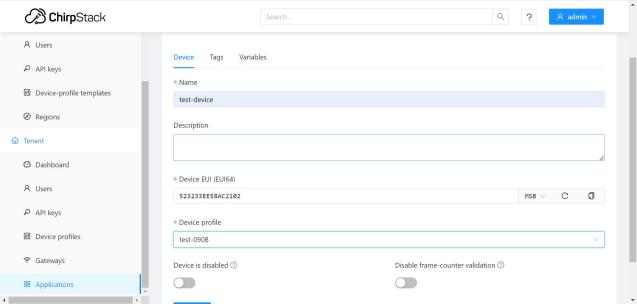
d) Fill in the APP KEY from the device

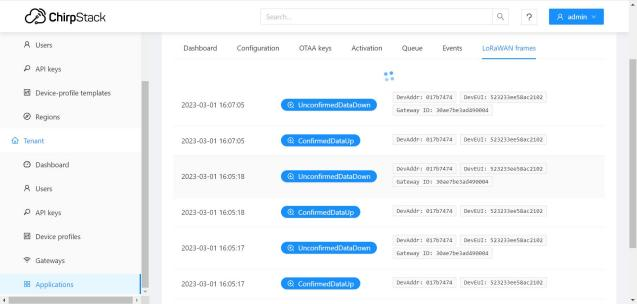
e) Use your device to send data uplink, you’ll see records in LoRaWANframes
