


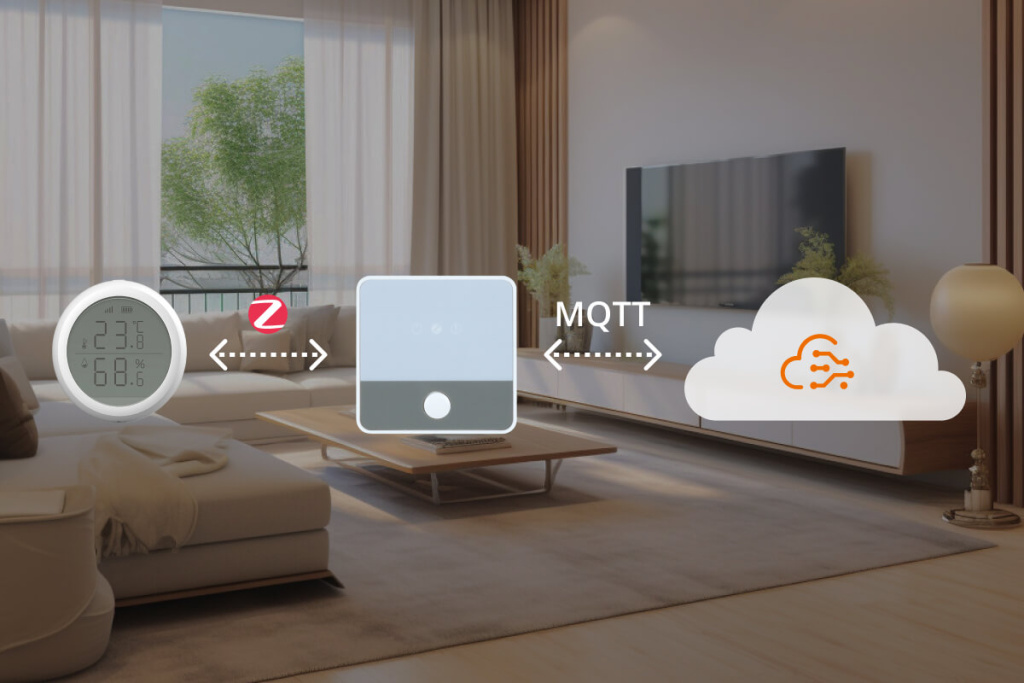
Zigbee2MQTT is an open-source program that connects MQTT-enabled platforms with Zigbee devices. With its help, users can easily gather, send, and store important environmental data on a local or remote cloud server.
Zigbee2MQTT has emerged as a key player in revolutionizing the arena of smart home automation using IoT, as it offers flexibility and cost-effective solutions for managing Zigbee devices.
For example, you can connect Zigbee temperature and humidity sensor to your Zigbee network, and use Zigbee2MQTT program to integrate the collected data into your preferred server for real-time monitoring.
What are the Required Devices and Tools?
In order to transfer smart sensor data using Zigbee2MQTT, we must first know what devices we will be using as well as working principle of Zigbee2MQTT. To ensure that we understand how these components work together to facilitate efficient data transmission, kindly ensure that the following devices are available:

A Zigbee Temperature and Humidity Sensor
It will capture environmental temperature and humidity data and send it to the Zigbee gateway. The data will then be forwarded it to the MQTT software.

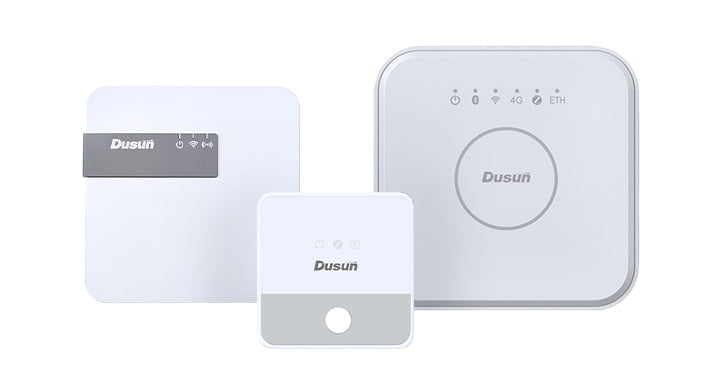
A Zigbee Gateway Hub
In this case, we use DSGW-030-1 Zigbee MQTT gateway.
Zigbee gateway manages the Zigbee network, including device pairing, routing, and configuration.
In the Zigbee2MQTT ecosystem, it also serves as a translator to translate messages between the Zigbee protocol and the MQTT protocol, converting it into a format that can be understood by the MQTT server.
In the meantime, the Zigbee gateway hub is also a publisher to send messages to the MQTT server containing data collected from Zigbee devices.

A Computer
In this case, we use a computer to work as the local server and host MQTT software. It acts as both a subscriber and a publisher in the MQTT communication paradigm.
Also Read: How to Send Sensor Data to the Cloud?
As a subscriber, it listens for messages from the MQTT client running on the gateway, ensuring it receives the relevant data updates in real-time and making it available for designated application or service to consume and and make use of the received sensor data.
As a publisher, it sends messages to the Zigbee2MQTT gateway containing control command designed to instruct the gateway to perform specific actions or configurations within the Zigbee network.

Resources:
How to Communicate with A MQTT Broker Using Paho Clients on Dusun IoT Gateways
How to Configure MQTT on Dusun IoT Gateways
How to Connect to MQTT Broker with SSL on Dusun IoT Gateways
How to Connect Dusun IoT Gateway to MQTT-Apache-Apollo Server
Working Process of Zigbee2MQTT Communication Among Sensor, Gateway and MQTT Server
The working principle of Zigbee2MQTT involves a series of steps, as seen in the diagram below:

- Sensor Pairing with the Gateway: Put Zigbee temperature and humidity sensor into the pairing mode so as to establishes a connection with the Zigbee MQTT gateway.
- Connecting Gateway to the MQTT Port: Once pairing is initiated, the Zigbee MQTT gateway establishes a communication channel by connecting to the specified MQTT port and broker.
- Sensor Status Reporting: The Zigbee sensor continuously monitors environmental parameters, wirelessly capturing data and periodically transmitting it to the Zigbee MQTT gateway.
- Gateway Publishing Message: The Zigbee2MQTT gateway publishes sensor data to the MQTT broker on designated MQTT topics. These messages contain the temperature readings collected by the sensor, the timestamp of the measurement, or the sensor’s unique identifier.
- MQTT Server Subscribing and Publishing Message: The MQTT server running on the PC subscribes to the relevant MQTT topics, making it available for interested clients which might be the dashboard applications, proprietary mobile apps, or other services. This enables real-time updates whenever new sensor data is published, enabling them to display, analyze, or take appropriate actions based on the received information. The server can then publish related control commands..
- Control Command Retrieving and Relaying: The Zigbee MQTT gateway will retrieve control command from the server and then send control commands to the Zigbee sensor. These commands instruct the sensor to perform certain actions, such as adjusting settings and configurations.
Step by Step: How to Setup Zigbee2MQTT on the Devices
In this section, we will demonstrate a step-by-step process for setting up Zigbee2MQTT communication on the previously listed devices.
Step 1: Find a MQTT Program and Build the MQTT Service
In this tutorial, i will use Eclipse Mosquito to build the MQTT service. Mosquito is my preferred choice for an MQTT message broker because it is open-source, which means you can freely use use without any licensing fees. Also, it is lightweight and is suitable for use on all devices from low power single board computers to full servers. Other features I considered while choosing Mosquito include its ease of use, cross-platform compatibility, lightweight, TLS encryption support, and active community support.
To use Mosquito, you can download and install the mosquito program from https://mosquitto.org/download/.
After that, you can create a MQTT server by the command Mosquitto -p 1888 –v, as shown in the following:

Make sure the gateway and MQTT server are on the same LAN, and find the IP address of the server. In my case, it is 192.168.1.2 (this is a local IP).

Step 2: Setup the Zigbee Gateway
Connect the Zigbee gateway and the PC to the same local network via a router.

Find the gateway’s IP address by logging into the router. In my case, I use the program Advanced IP Scanner to help me find it. The IP address in the red rectangle is my gateway’s IP address.

Open a web browser on the computer > Input Gateway IP Address > Enter the username and Password(default Username: root, Password: root) > login to the gateway user interface. This process is shown in the following picture.

Step 3: Configure the MQTT on the Zigbee Gateway
Find the MQTT Config Page on the gateway user interface, enter the IP of MQTT server (192.168.1.2) and the server port number (1888). In this way, you can connect MQTT server with MQTT client running on the gateway (Make sure that the MQTT settings match those of your MQTT client).

You can use mqtt.Fx. to check the MQTT connection.This step aims to validate the configuration of your MQTT broker, test the MQTT communication between the gateway and the broker, and allow for debugging & troubleshooting if an issue arises during the configuration process.

Step 4: Configure the MQTT Topics for Publishing Message Within the Gateway Web Interface
The MQTT topics will be used to organize and route data from the Zigbee gateway to the MQTT server.
You need to choose a meaningful topic name that reflects the data type being published on the cloud platform. In my case, the gateway publishes the messages to the topic ‘temperature’ and subscribes from the topic ‘temperature/mac’.
For example, if the gateway’s Mac is 30:ae:7b:64:00:28, then it subscribes from the topic ‘temperature/30:ae:7b:64:00:28’ and publishes data to the topic ‘temperature’.
If you need to set more MQTT topics, you need to set the same topic in the gateway web and MQTT server.

NOTE: The heartbeat (time interval to upload data to the server) can be customized according to your needs.
Step 5: Pair the Zigbee Temperature and Humidity Sensor with the Zigbee Gateway
Add Zigbee Sensor By Accessing the Gateway User Interface
Dusun Zigbee gateways has a user-friendly interface for device configuration and management. Here is a general outline of how you can add a device to the gateway:
Open the gateway user interface and find the Zigbee3.0 Manage webpage. This step is quite easy. You can then click the permit button, and the gateway will go into the pairing mode. If the pairing process is successful, you will see the temperature & humidity sensor on the webpage.

Tips: how to configure the Zigbee temperature and humidity sensor
You might have two situations.
One is using Dusun IoT’s own smart sensors, this will ensure compatibility, as the integration between the gateway and sensor has been rigorously tested many times. In this instance, the sensor just needs to be long-pressed for five seconds on the back before pressing it once more to cause the red LED to continue flashing, signaling the entry of pairing mode.
The second situation is using third-party Zigbee sensors, which you can operate according to the user manual. In this case, you have to confirm the Zigbee versions of your devices. Like if it’s standard Zigbee 3.0 protocol, if its software part has been altered, etc. This might lead to an unsuccessful pairing.
Add Zigbee Sensor through MQTT Broker
You can also choose to add Zigbee sensor through the MQTT broker. Below is a simplified example of how you can add a Zigbee temperature and humidity sensor to a Zigbee gateway through an MQTT broker using the code:
{
 "data": {
 "arguments": {
 "attribute": "mod.add_device",
 "ep": 1,
 "value": {
 "mac": "00158d0001b61234"
 },
 "mac": "00158d0001b61234"
 },
 "id": "eb92016c-320d-4619-aca2-a401352e806f",
 "command": "setAttribute"
 },
 "from": "CLOUD",
 "mac": "30:ae:7b:2b:41:60",
 "messageId": 25607,
 "time": 1553909170,
 "to": "NXP",
 "type": "cmd"
}
Adding a device through an MQTT broker involves sending MQTT messages to specific topics that trigger actions on the target device. This streamlines the process of device pairing within the Zigbee network. For instance, adding a device through an MQTT broker provides a centralized approach, simplifying the configuration and management of Zigbee devices within the network.
Step 6: The Setup Process is Finished!
When the pairing is successful, you can receive the temperature & humidity sensor status in the MQTT server as shown below:

Here we are going to show more about temperature and humidity data.
- The nearby temperature data would be uploaded every 15 minutes, and data contains attribute, temperature value, device type, battery level, timestamp, etc.
{
 "data" : {
 "attribute" : "device.temperature",
 "mac" : "842e14fffe1e9bb2",
 "value" : {
 "value" : "29.58",
 "ep" : 1,
 "zone" : "RoomBank-TemperatureHumidity",
 "unit" : "C",
 "ModelStr" : "RoomBank-TemperatureHumidity",
 "battery" : 100
 },
 "ep" : 1
 },
 "from" : "GREENPOWER",
 "to" : "CLOUD",
 "time" : 1599706766,
 "deviceCode" : "010123f3-c750-43e7-ad41-6672126fa416",
 "mac" : "30:ae:7b:64:00:c6",
 "type" : "reportAttribute"
}
Additional info:
| Option | Meaning |
| Value | 0-100, 0 means temperature is 0℃, 100 means temperature is 100℃. |
| Unit | C for Celsius degree |
- The nearby humidity data would be uploaded every 15 minutes, and data contains attribute, humidity value, device type, battery level, timestamp, etc.
{
 "data" : {
 "attribute" : "device.humidity",
 "mac" : "842e14fffe1e9bb2",
 "value" : {
 "value" : "56.44",
 "ep" : 1,
 "zone" : "RoomBank-TemperatureHumidity",
 "unit" : "%",
 "ModelStr" : "RoomBank-TemperatureHumidity",
 "battery" : 100
 },
 "ep" : 1
 }, "from" : "GREENPOWER",
 "to" : "CLOUD",
 "time" : 1599706766,
 "deviceCode" : "010123f3-c750-43e7-ad41-6672126fa416",
 "mac" : "30:ae:7b:64:00:c6",
 "type" : "reportAttribute"
}
Additional info:
| Option | Meaning |
| Value | 0-100, 0 means humidity is 0%, 100 means humidity is 100%. |
| Unit | % for percentage |
How to Manage The Zigbee2MQTT Devices and the System
Implement Best Security Practices
The best security practices you can implement for your Zigbee2MQTT temperature and humidity sensing data uploading system include the following:
- Encryption: You should connect MQTT broker using SSL encryption to ensure data confidentiality. You can also use various encryption methods, such as Zigbee Trust Center Link Key (ZLL) or Zigbee Network Key (ZNP), AES-128;
- Authentication: Use strong authentication via pre-shared keys or digital certificates to verify device identity;
- Regular Firmware Update: Regularly update firmware to patch vulnerabilities;
- Network Segmentation: Segment the network to isolate sensor networks and reduce attack surfaces. You can use firewalls or VLANs.
- Access Control: Utilize strong access controls, such as role-based access control (RBAC), to manage permissions effectively.
- Regular Audit and Test: Do regular security audits and penetration testing to identify and address vulnerabilities and enhance overall security.
Implement Regular Maintenance Tasks
The regular maintenance tasks you can implement for your your Zigbee2MQTT temperature and humidity sensing data uploading system include the following:
- Update software to patch vulnerabilities, fix bugs, and add new features. This is essential in ensuring optimal functionality and security;
- Monitor the sensor health, such as signal strength, battery levels, and sensor responsiveness. If you discover any anomalies in temperature readings or communication errors, address them promptly to prevent downtime or data loss;
- Regularly replace batteries or power sources as needed to ensure uninterrupted or continuous operation;
- Do regular backup and recovery of sensor configurations and data to prevent loss in case of hardware failure or data corruption.
Final Words
Sending sensor data to local or remote servers are robust need in smart home applications. Whether you prefer monitoring temperature and humidity data through a customizable dashboard or a proprietary mobile app, Dusun IoT’s smart home solution provides smart gateways with a standard MQTT API for smooth integration into your own platforms.
If you utilize public cloud services such as AWS or Azure, we offer pre-installed plugs for easy integration with these platforms. Additionally, as an official gateway hardware partner of Thingsboard, we offer a wide range of Thingsboard IoT gateways, ensuring compatibility and streamlined integration.

All of our smart sensors and gateways are already integrated and ready to be incorporated into your specific smart home solutions. Feel free to inquire about mass order prices.